作者:爱学习的海生
|如果一切顺利的话,现在你应该可以真正的“输出”了
前言
博客的文章编辑器有很多选择:TinyMCE、CKEditor、UEditor、wangEditor、kindeditor……我使用的是markdown编辑器,就在CSDN中就可以使用到。
一、语言规则
虽然编辑器有很多选择,但是语言规则都是基本类似的。这里我使用我现在编辑的截图作为一个示例: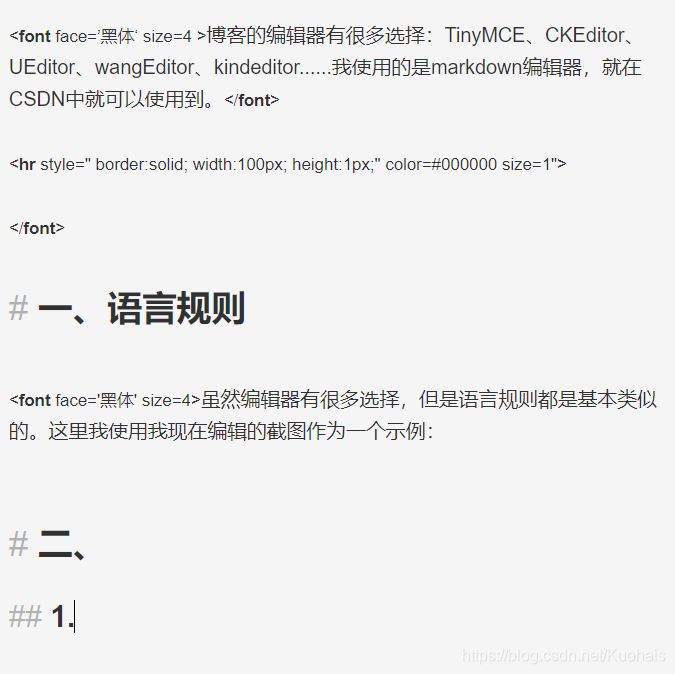
CSDN上的编辑可以实时查看输出状态,还是相当方便的。其中
1 | <font face='' color='' size='' > |
就是一个基本的编辑文本样式的语句,加在每一段字体前面即可。别忘了当段落结束后或者要更改一次格式前加上
1 | </font> |
这是表示结束上一个格式。在使用HTML、CSS等时,这是基本格式(我真啰嗦)。
ps:color使用的是颜色代码,你可以点击这个网站查看相关代码编号
二、文章的放置
写好的文章需要根据你的文章类型归类。
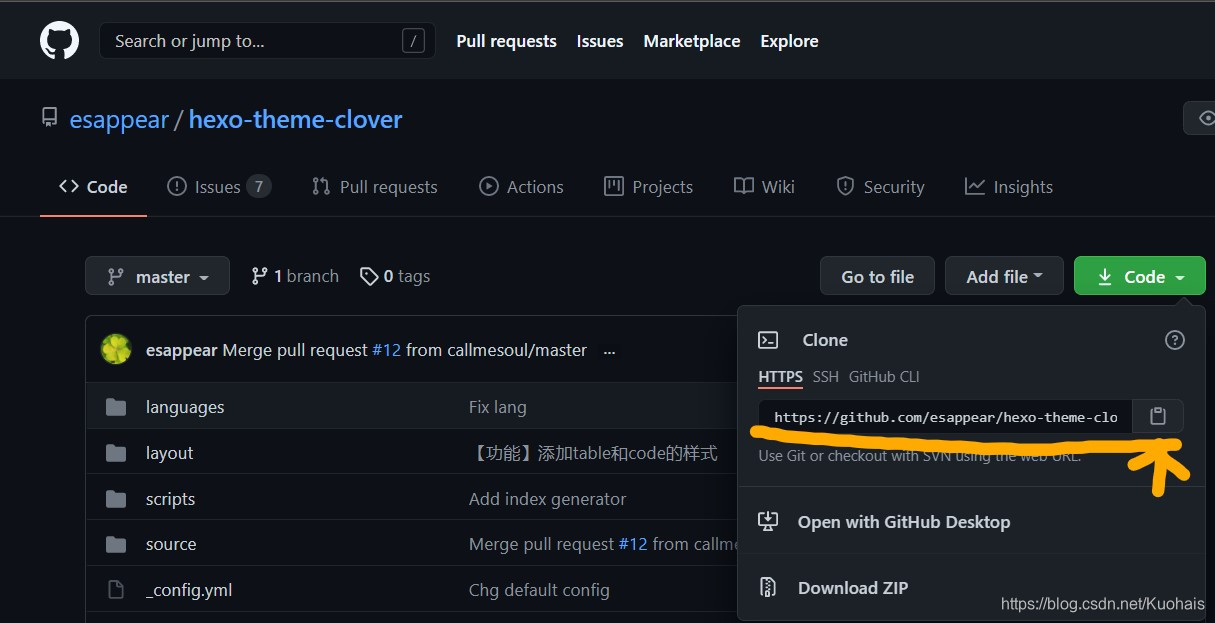
首先是要将文章从你的编辑器到处,这里以markdown为例: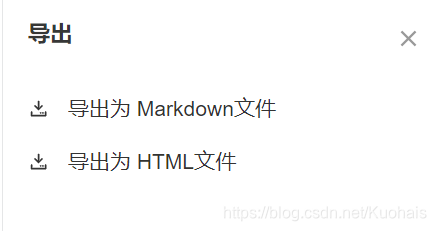
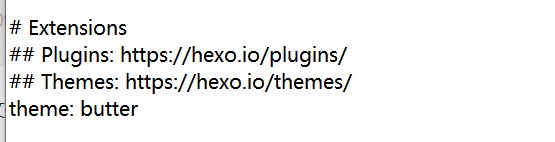
导出为Markdonw文件即可,保存后点开文件所在位置,将文件复制到你的blog根目录下的/source/posts里,并且打开编辑,在文章前面加上:
1 | --- |
三、上传至互联网
1、将更改保存到本地
使用之前提到的方法保存到本地即可:
1 | $ hexo c |
这一步可以方便你首先在本地里查看文章发布之后在网站上的样子。
2、更改域名
首先,在网上买一个自己喜欢的域名。
腾讯域名
GoDaddy
还有很多网站可以购买,我比较推荐腾讯的域名,价格不算贵,而且种类很多。
这里以我买的腾讯域名为例。
在腾讯云买好后,进入域名解析页面: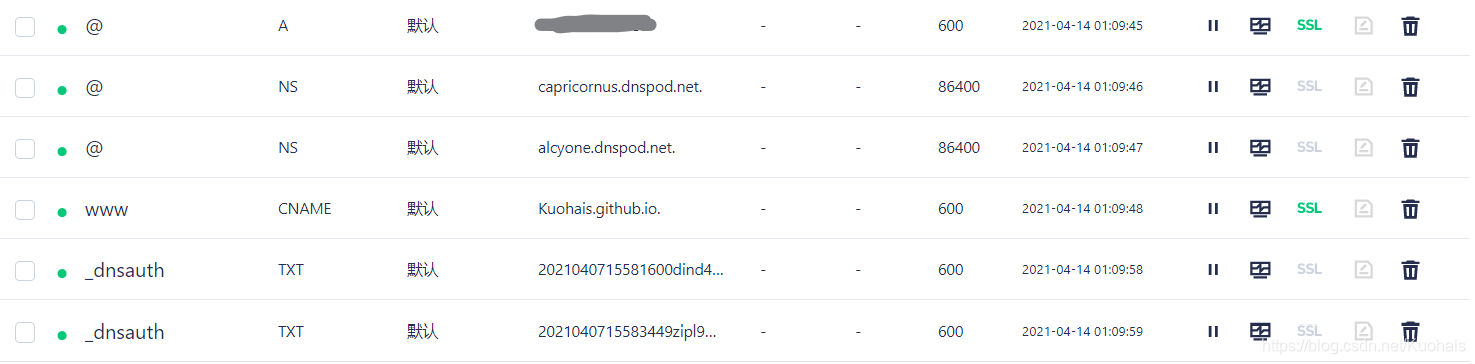
1、照着这个界面设置就好,其中第四行是设置你的github地址,格式为:yourgithubname.github.io
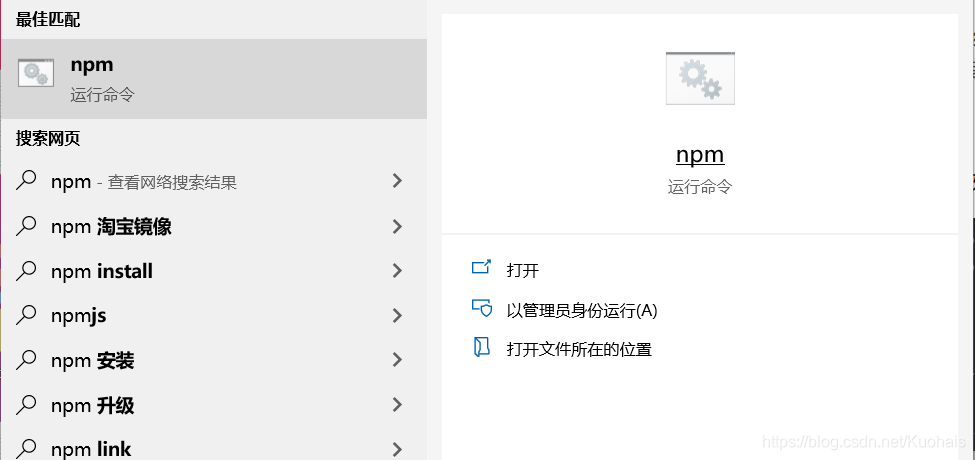
2、第一行是你的IP地址,打开npm,输入以下:
1 | $ npm config get registry http://你的github地址 |
之后复制到你的第一行即可
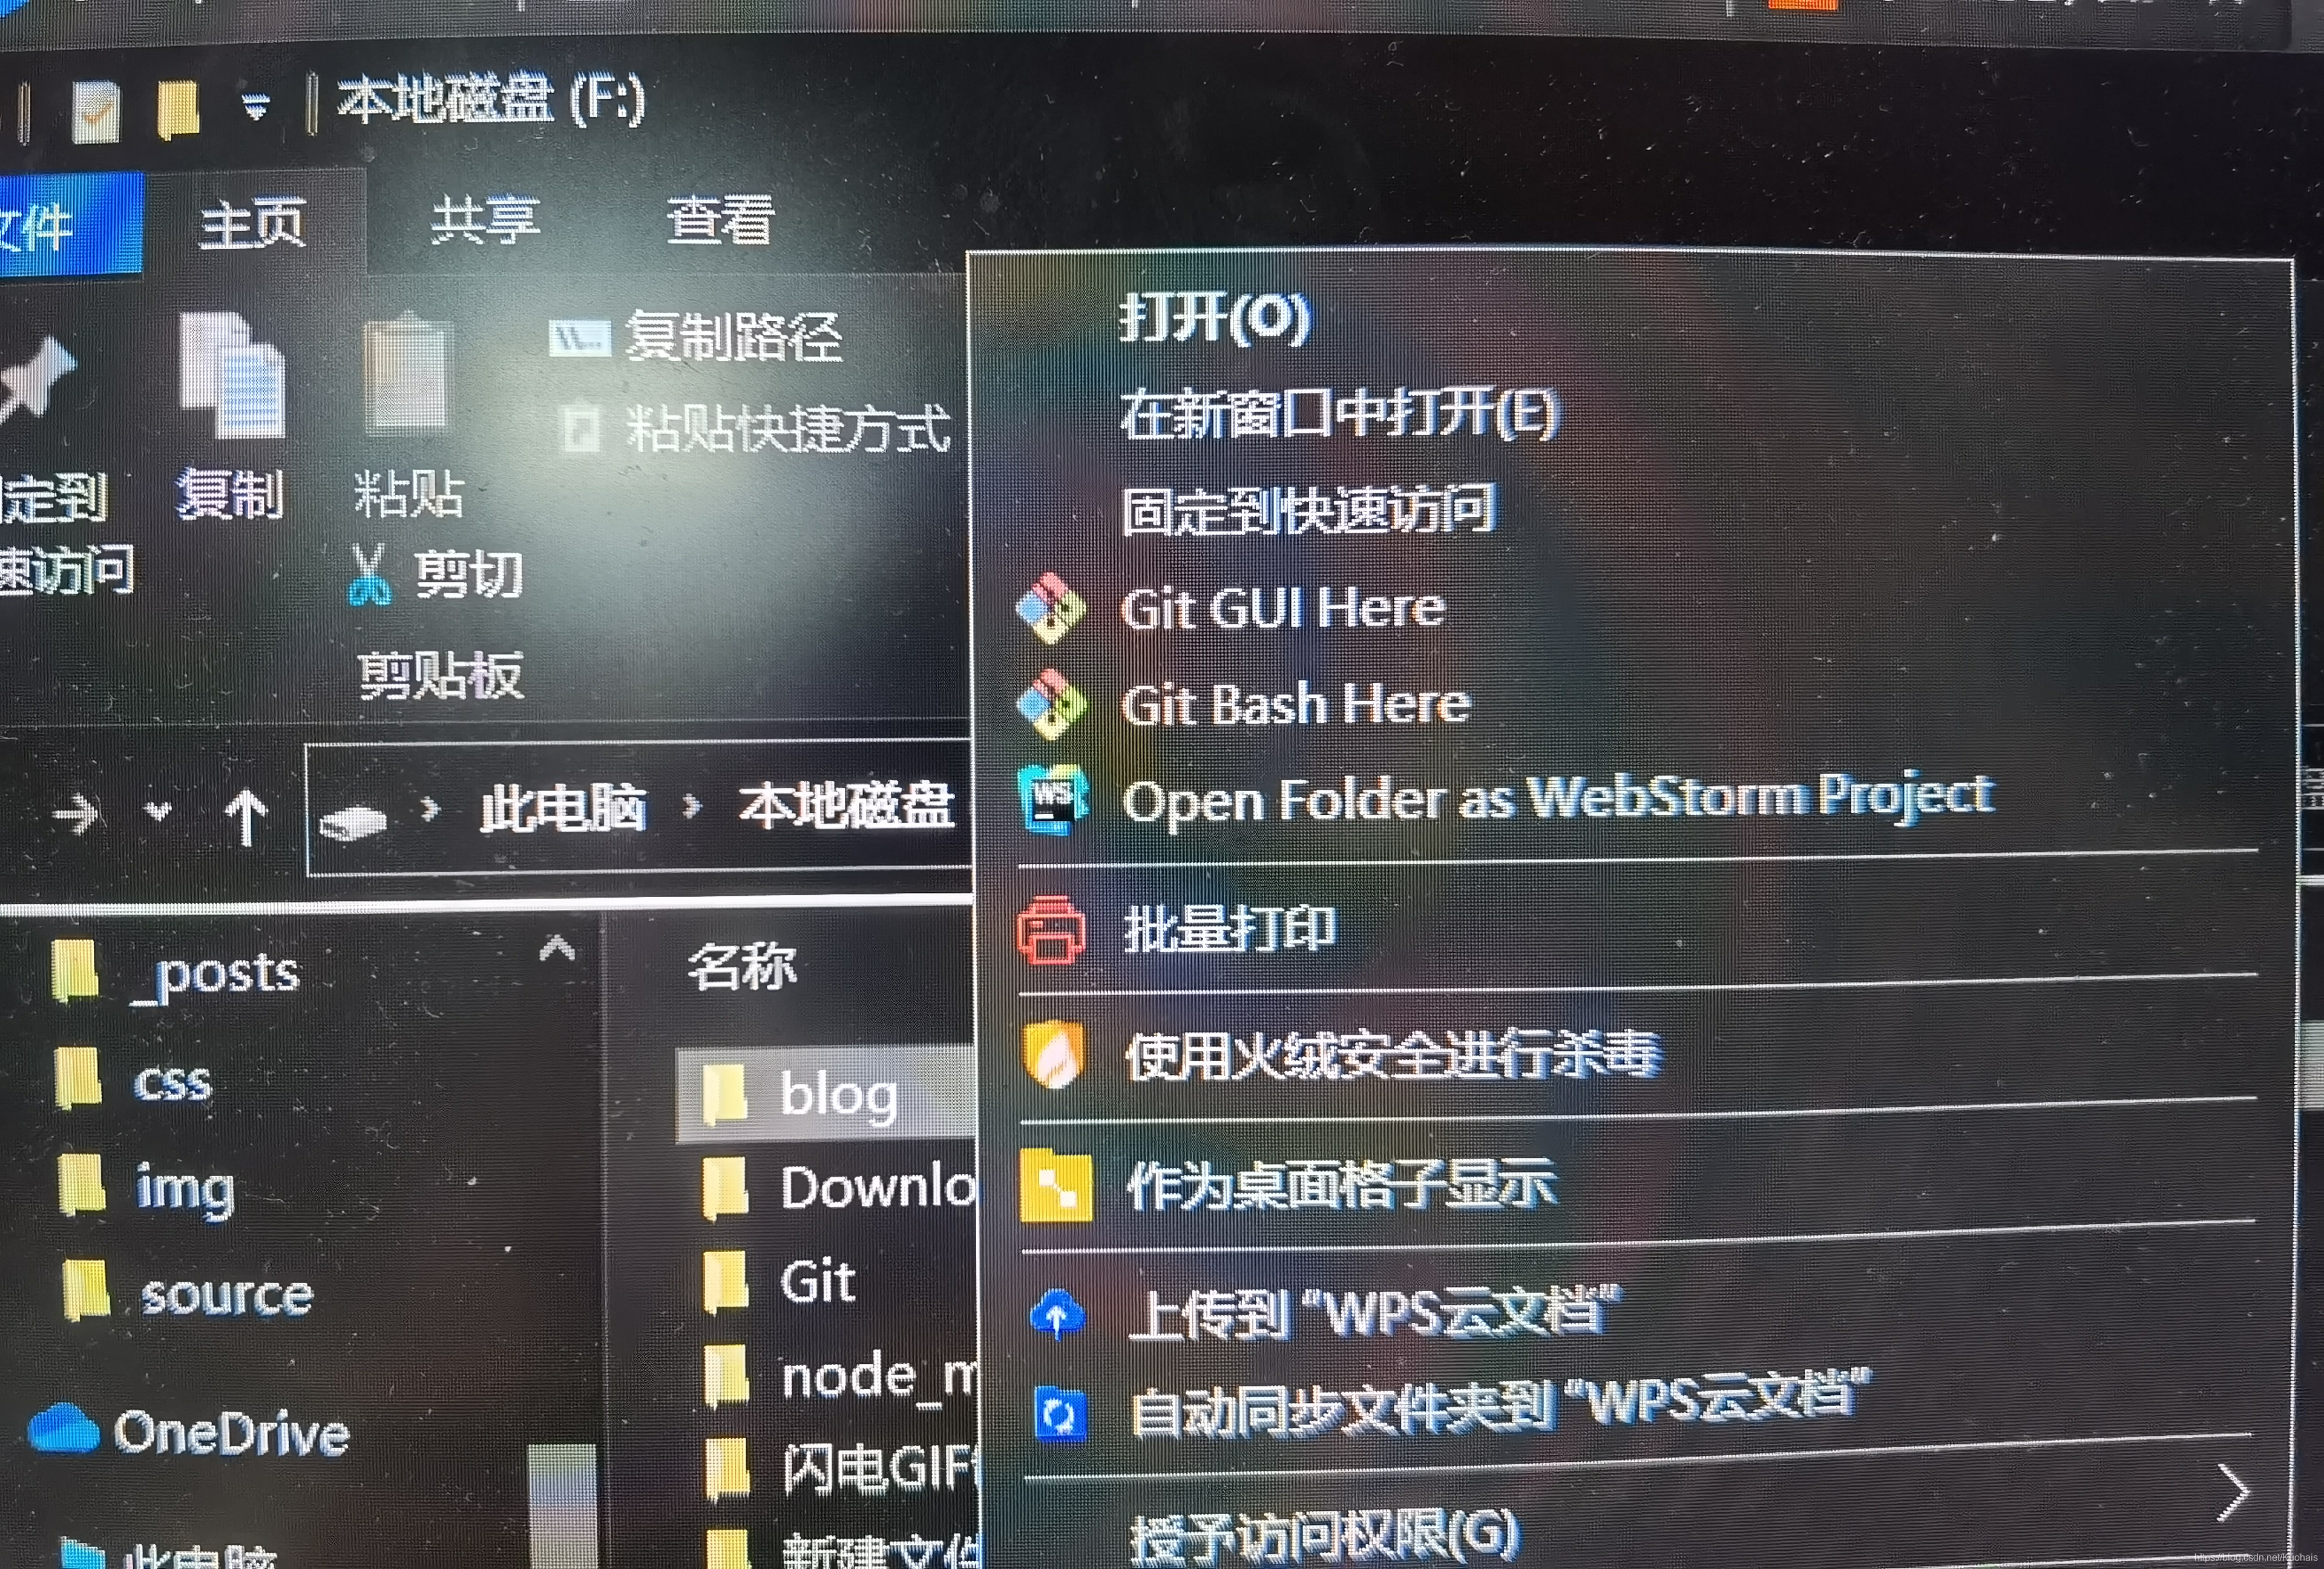
3、第四行的’CNAME‘需要你在你的根目录(/blog)的/source下建立一个同名的文件,如图: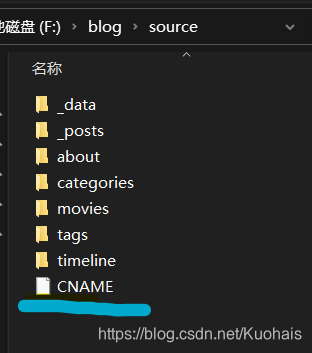
你可以以记事本的方式新建,然后删掉所有后缀,将文件名命名为CNAME即可,用编码软件(vsc)打开,写入你的域名名称(其他什么都不用写),如你的域名为:abcd.com,那么就如此写即可,不用加www.。
问题总结
下一张我再介绍如何部署加速器吧,码字好累。
Q:为什么我的域名打不开或打开后不是我的博客网站?
A:1、网页有一定的延迟,可以等一会儿再看能否打开;
2、检查你是否上传成功,hexo d是上传命令,要显示成功才行;
3、IP地址一定要正确,确保你是设置的你的github地址。